

Designing a Middle School TV Studio
How to design an affordable software-based TV studio facility as opposed to thousands of dollars in hardware-based setups.
Rob Z will show us how he built a middle school studio at Amherst Tech TV taking advantage of the features in Adobe’s Visual Communicator. Visual Communicator provides a teleprompter, video creation capabilities, and an entire library of customizable graphics, effects, titles, music, and templates.Most notably, the green screen and teleprompter features make this a very powerful, and effective program. Its ease of use makes it the perfect system for elementary and middle school broadcasts and mimics the way professional studios write and present news.
At Amherst Middle school, we’ve been using Visual Communicator since 2003 to create video projects and the school news shows which are broadcast live every morning. VC has become the cornerstone of the entire schools TV program. (see Amherst Tech TV profile in a previous issue of SVN)
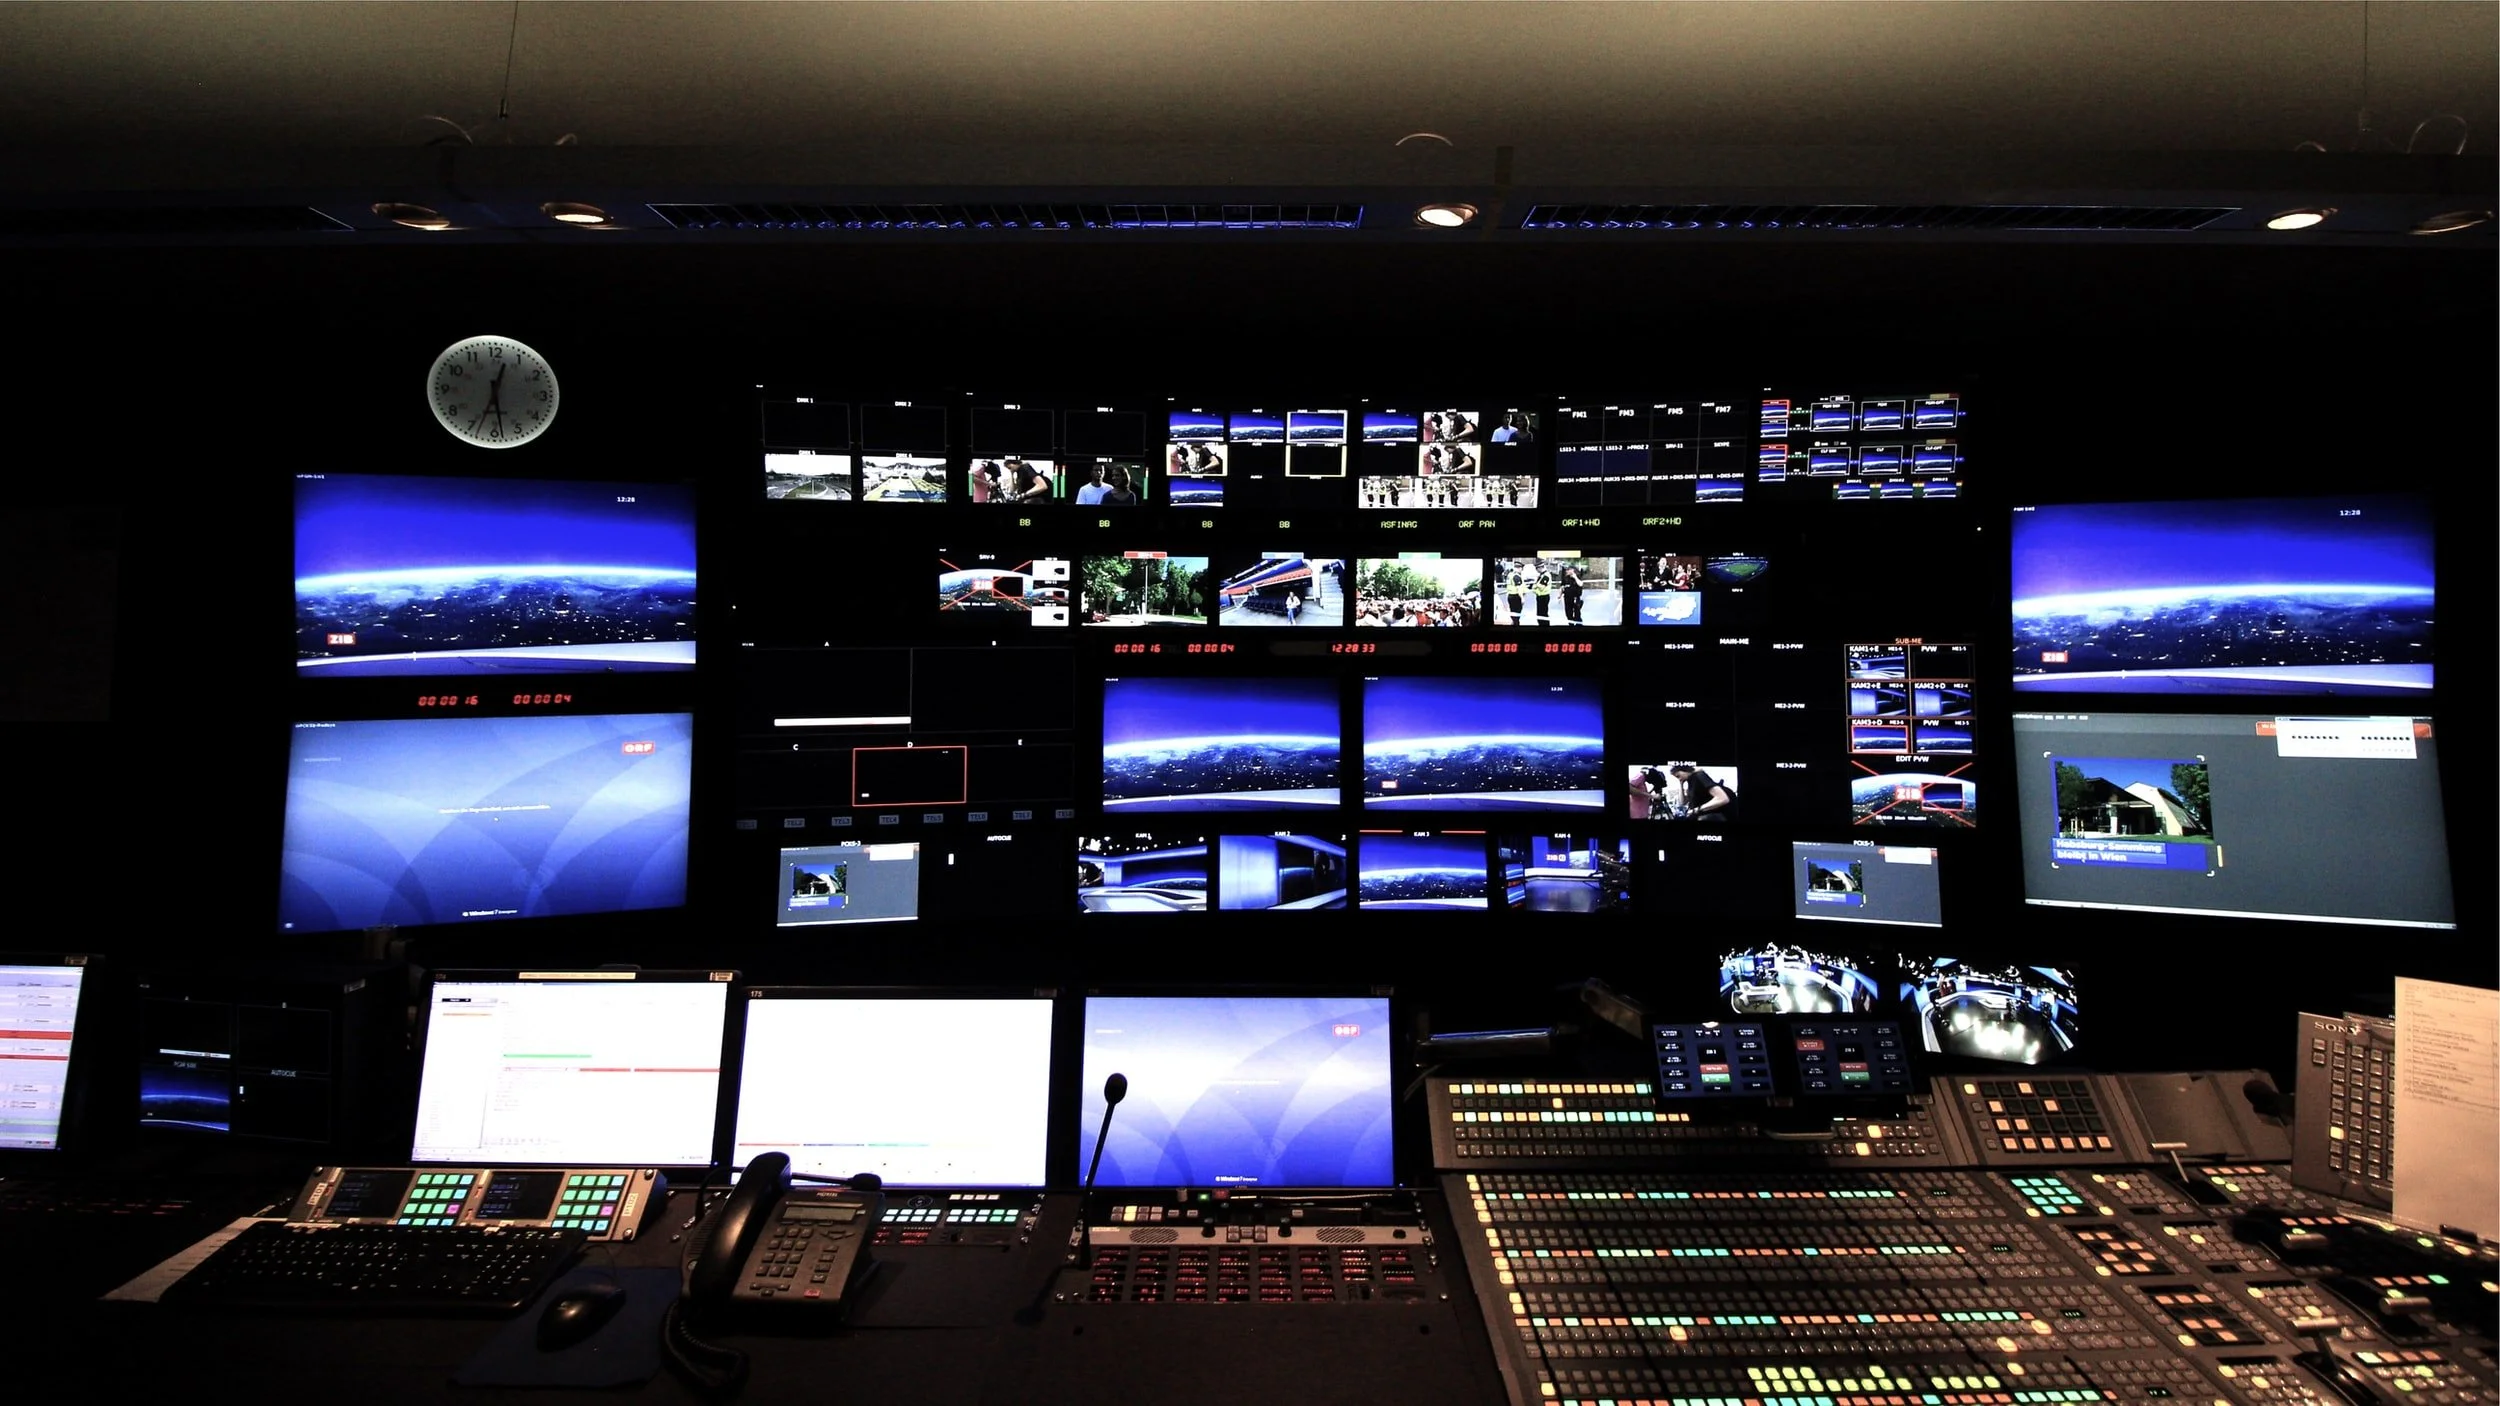
What makes Visual Communicator such a great fit for any school, is how little equipment is needed to have a great looking school TV program. Typically a school would need to go the hardware route, purchasing expensive switchers, mixers, cameras, title generators, VCR and DVD players, and miles of cables and adaptors. Plus, you need a technical background to know how to use and teach all that equipment. However, because Visual Communicator is a software based platform, it serves as the as the main production and broadcast tool for your school TV program.
Besides a Windows-based PC, which you already have, all that’s needed is a basic firewire camcorder, which you probably can get. A blank wall that could be covered with a green fabric would be a final touch to enhance your productions with professionally created virtual backgrounds. That’s all there is to it. Taking a software based approach makes it much more affordable to have or start a school TV program. Plus, kids and teachers can jump right in because of the easy to learn and easy to use interface.
Let’s explore the computer requirements first. You’ll need a Windows based PC. Sorry Macintosh fans, but as of September 07 Visual Communicator is intended for PC’s only, but it has been reported to work on Intel based Macs running Bootcamp. You can go with either a desktop or laptop PC, but personally I prefer a desktop just because I think it’s easier to upgrade as your needs might grow. However if you need portability, Visual Communicator runs just fine on a modern laptop. You can take a look at the minimum specs required to run Visual Communicator at www.adobe.com/go/vc3.
Once you’re set with a computer, you’ll need to get a camera. Keep in mind when we say camera, we really mean camcorder. In the TV industry, camera is a more widely used term, and you’ll see the term camera used when you’re working with Visual Communicator as well.
Even though Visual Communicator works with inexpensive webcams, I personally don’t recommend using a webcam or any video device that connects to your computer using a USB cable. The picture quality won’t be as good, and webcams don’t have the ability to zoom in or out to better frame up your shot. A firewire camcorder will outperform any USB webcam, so stick with the camcorder if you can.
Camcorders will begin at around $250 dollars and up. The brand I recommend the most is Panasonic, especially their 3CCD models, which do a great job with distinguishing colors. These average around $500 each and doing a www.pricegrabber.com search will show you places to buy from online. Two of our favorite vendors are newegg.com and BHPhotoVideo.com
When shopping for a camcorder, be sure it uses the MiniDV format, so it has firewire output capability. Firewire may also be referred to as IEEE 1394, DV out, or if it’s a Sony camcorder, they’ll refer to it as iLink. These camcorders record onto digital MiniDV tape, and should have a firewire port on it. These camcorders are actually getting harder to find nowadays, with newer formats such as MiniDVD and Hard Drive storage emerging. Be aware though, that these newer format models may look and sound cool, but won’t have firewire capability you need to use with Visual Communicator.
Another nice camcorder feature is a mic input jack, which will allow you to plug in your own microphone for your newscasters to use, rather than use the built in mic on the camera. If the recording studio is located in an open classroom, it’s nice to have a separate microphone clipped directly onto your newscaster, to better isolate the sound.
Finally, you’ll need something to use for your green screen. Visual Communicator comes with many varied virtual backgrounds including world locations, studio sets and colorful professional graphics. Used with a green screen this capability can add infinite production value to the most elementary programming. Visual Communicator’s green screen feature is very forgiving, which makes it so great for school TV studios on a budget. Notice also VC can insert a lower third to give an even more professional look.
A green screen can be any type of material that is not shiny. Ideas for a green screen might be poster board taped together, fabric such as felt or table cloth material, paper sold in wide rolls, a wall you paint green, or even a professional green screen backdrop. Some users have had great success with the portable green screens that collapse down making on location shooting easy.
I’ve seen many homemade variations for green screens, and typically they all work fine as long as the lighting on it is pretty even from top to bottom. Even a few wrinkles or creases are ok, as long as they don’t drastically change the green color with shadows.
Since everyone’s budget and situation is different, the best advice I can give is to try whatever you have to work with before investing money in a professional green screen solution. It may just work. (Check out www.eefx.com or our Resources / Links page)
In our school TV studio, I’ve painted the drywall with 3 coats of green and blue paint. These were ordinary flat paint colors I had mixed at Sherwin Williams. Be sure to start with a good primer first to seal and hide any imperfections in the wall. Then paint at least 3 coats of green paint in a flat enamel finish. The goal is to have a bold uniform color, especially if bright lights will be shining on the wall. This is why you want to avoid glossy paint, so be sure to use a flat enamel for best results. Remember though, you don’t have to go to great lengths for your green screen solution, as it may be as easy as hanging a piece of fabric on the wall.
Now that we have our computer set up, our cameras selected and our studio under construction, we are going to start on lighting. Next installment we are going to light the green screen.
Meet the Author, Rob Z
Check out more of Rob Z’s presentations and great student videos from Amherst TechTV at www.SchoolTube.com. Rob Zdrojewski has been introducing students to structural engineering, robotics, and communication technologies at Amherst Middle School since 2001. With a specialty in digital video and TV production, he built the nationally recognized Amherst Tech TV program based on Adobe® Visual Communicator® software. The program's website, AmherstTechTV.org, serves as a model for other schools, and Zdrojewski both advises and trains fellow educators in TV production.